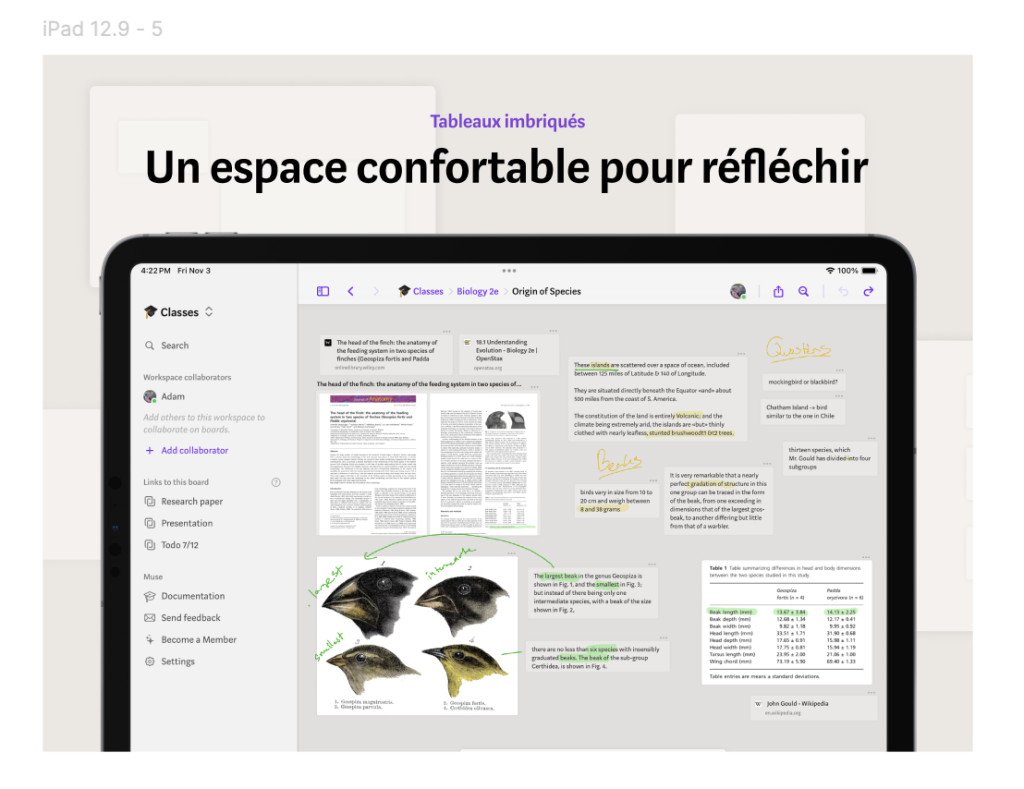
I’ve recently translated Muse into French 🇫🇷! As part of localizing the app, I also needed to translate the App Store description and screenshots. All of the App Store screenshots for Muse are setup in Figma, and I was hoping beyond hope that I could setup multiple languages in Figma to make it easy to export for all storefronts.
Thankfully, Figma came through! The strategy is to use Figma’s variables and modes. The basics flow is to:
- Setup a variable for each piece of text that you want to translate, and set it’s initial value to the English translation
- Update each text node in your Figma design to use that variable instead of static text
- Setup a new mode for the variable for each new language, and then update each variable to include a translation for each language
- Toggle the page’s default mode to set the language for all screenshots
Figma Variables and Modes
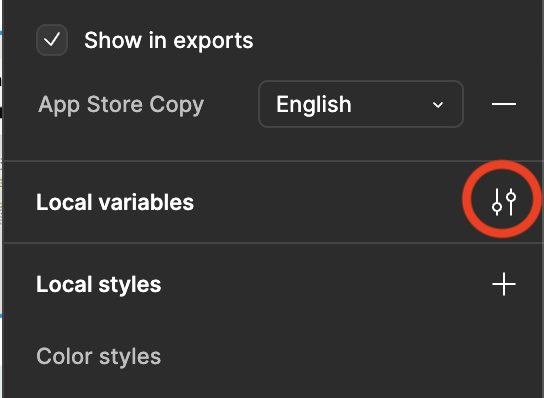
With nothing selected on the Figma page, click the button to open up the Local variables window. This is where you’ll configure each text snippet.
Once the variable window is open, add a variable for each piece of text that appears in your design. For Muse, one of my screenshots is below, and you can see I’ve translated its two header lines as a separate variable.
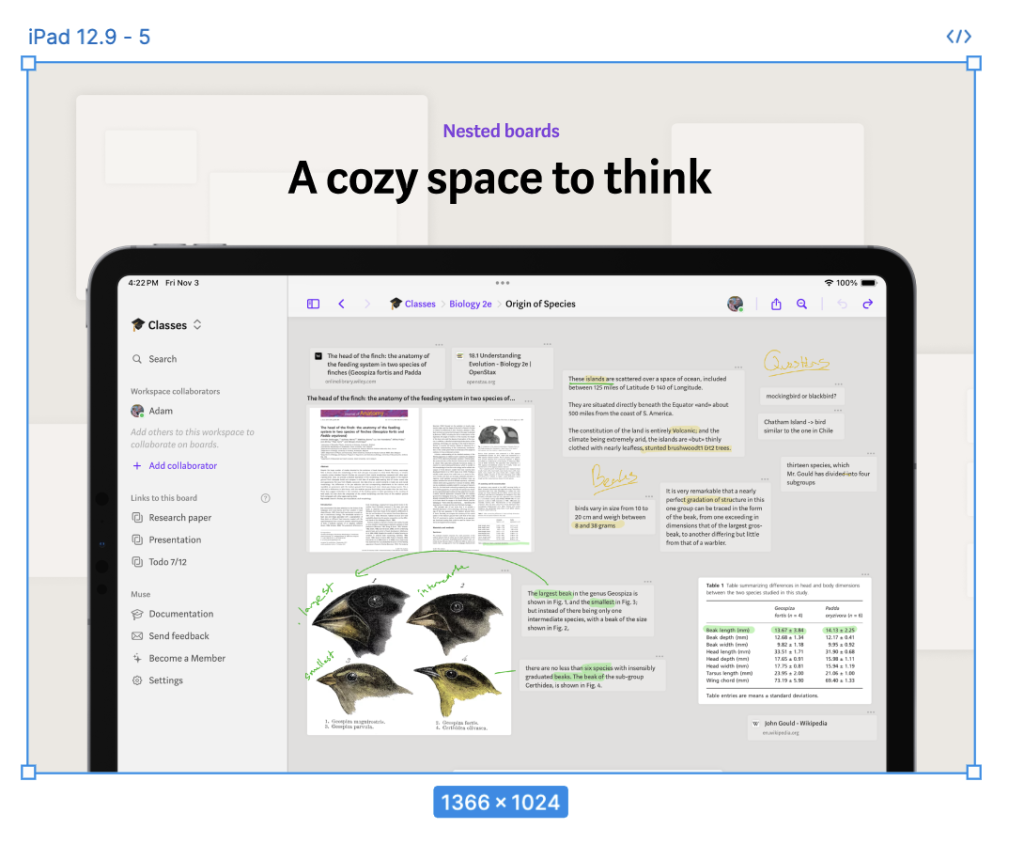
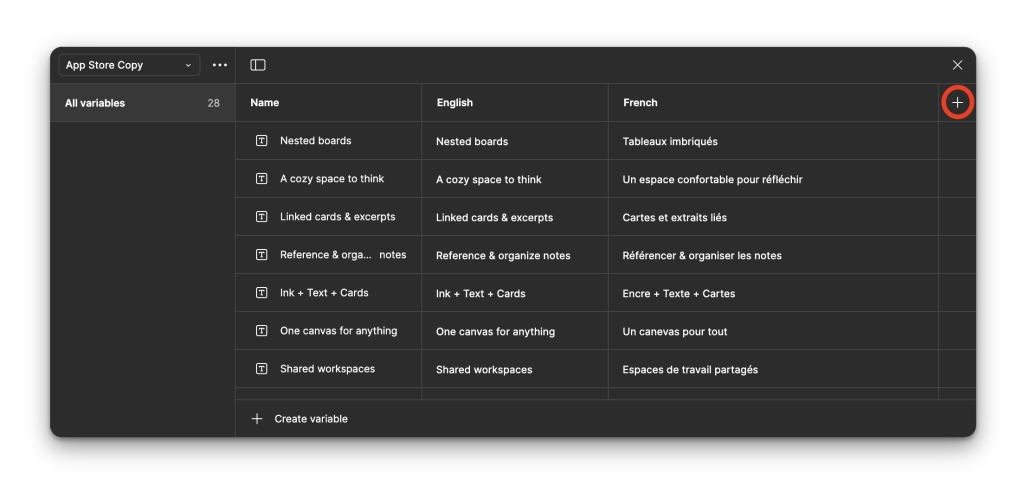
You can see that I’ve created separate variables for “Nested boards” and “A cozy space to think.” For simplicity, I set the Name and English value so the same text so that it’s easier for me to recognize the variables elsewhere in Figma.
After setting up the English version, click the + button to add a new variable mode. Use this new variable mode for your second language’s text.
Update Text Nodes to Use Variables
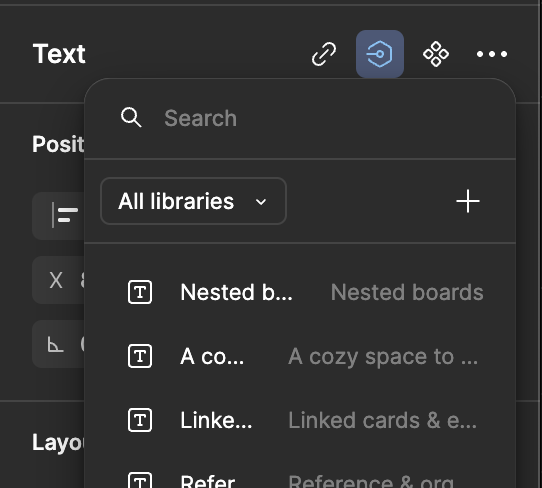
Now that you have your variables setup with all of your translations, it’s time to setup the text nodes in your designs to use them. To do that, select a text node and then click the Apply variable button.

That will open a dialog where you can choose the variable that matches your text.
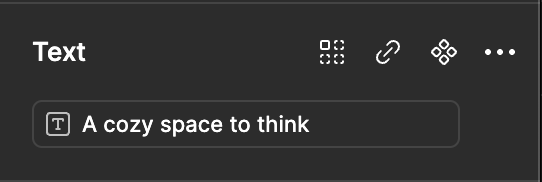
Now your text node has its text pulled from that variable.
Toggle Language
That’s all there is to setup multiple languages in your Figma design. To switch between your languages, deselect everything on your page, and then click the Apply variable mode button to switch between your language modes.
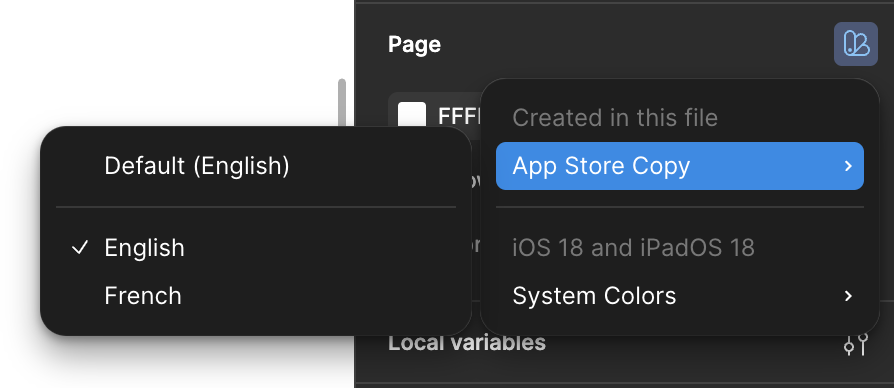
Now it’s easy for me to switch between and export both English and French screenshots for the App Store!
